NZ
NZ


How to use the Completed Assessments page
All of your completed assessments and generated reports are displayed on the Completed Assessments page.
If your account has been upgraded from the old Assessment Center to the Online Assessment Center+, you will find all your generated reports and completed assessments on the Completed Assessments page. This includes any pending assessments that are completed after you have successfully upgraded your account.
To view and generate reports
- Click Completed Assessments in the left menu.
A table of your completed assessments appears.
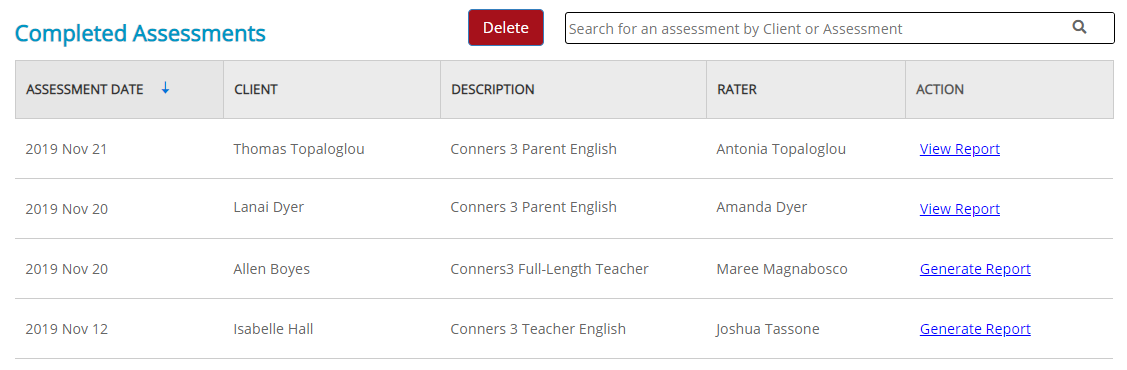
- Look in the RATER column to determine which rater completed the assessment.
- To generate a report, click Generate Report in the ACTION column and then continue through the guided steps.
-
- If this is the first time you are generating a report from that assessment, one form use will be deducted from your account.
- However, if the assessment was completed from an invitation sent from the old Assessment Center, you will not be charged as the form use was previously deducted when you sent the invitation.
- To view a generated report, click View Report in the ACTION column and then continue through the guided steps..
Assigning Clients
Note: The following only applies to assessments and reports transferred from the old Assessment Center. Any assessment that originates from the Online Assessment Center+ will have a client associated with it from the start.
If you want to generate or view a report from the old Assessment Center, you must first assign a client to that report or assessment.
This step only needs to be done once and only applies to assessment data transferred from the old Assessment Center.
To assign a client to a completed assessment or report:
- Click Generate Report or View Report on the Completed Assessments page.
The Assign Client page opens.
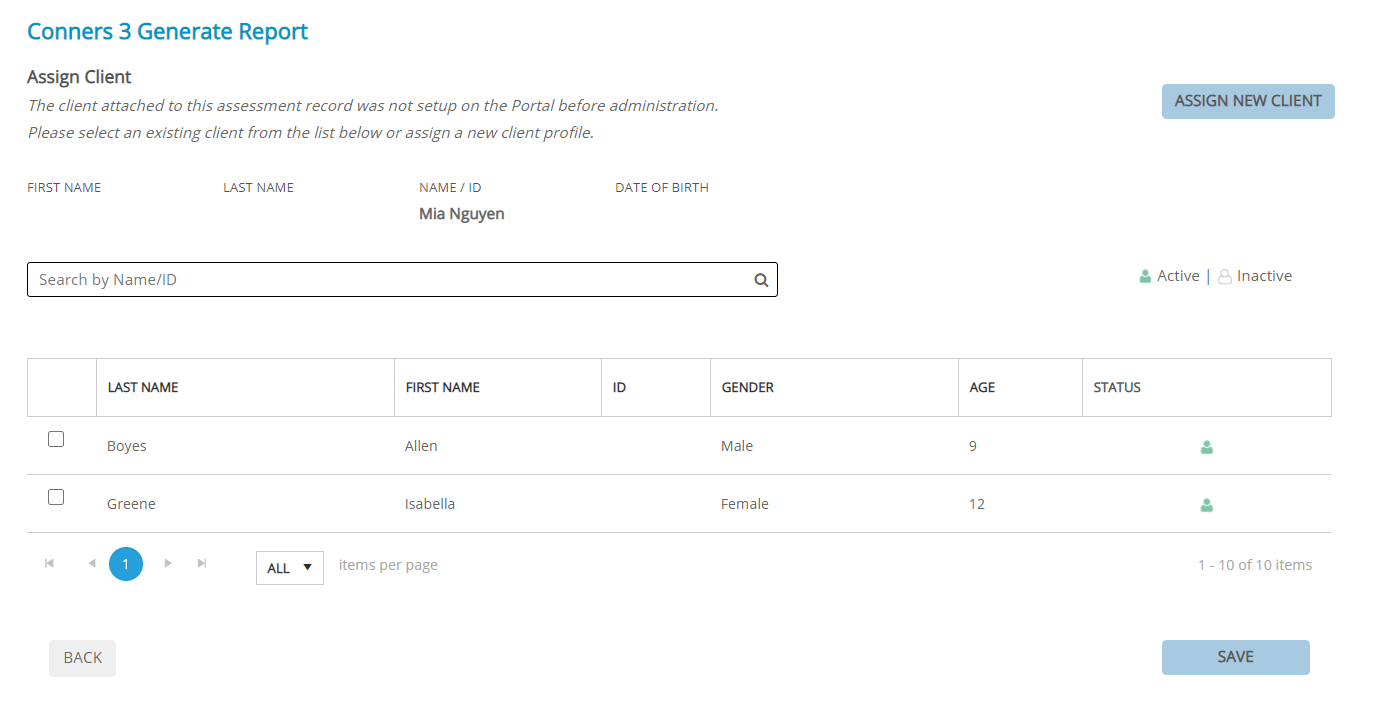
- If you have already created a profile for the client, select their name from the list and then click SAVE.
- If you have not previously entered the client into the Assessment Center+, click ASSIGN NEW CLIENT then continue through the guided steps to create a client profile.